|
|
|
|

One-quarter studio scale Shuttlecraft Study ModelsOddly enough, this didn't start out as a model project. Originally this was intended to as a quick-n-dirty test of some modifications to the plans I used for my Half scale Replica of Galileo filming miniature, done at half scale (making it overall quarter scale) to speed things up. The goal was to make sure that the changes I made resulted in fixing what I felt needed fixing. What I found was that when I had gotten the results I was looking for, I wasn't really that far from building finished masters. And as I also wanted to test some changes/improvements to the decal graphics, taking the few extra steps to make completed models might be worth the effort. It started out simple enough, I cut out piece of sheet styrene and taped them around a foam core I shaped with a hot wire.  Fleshing out the upper and lower hull was pretty straight forward, the engine was actually the first part that took significant effort. 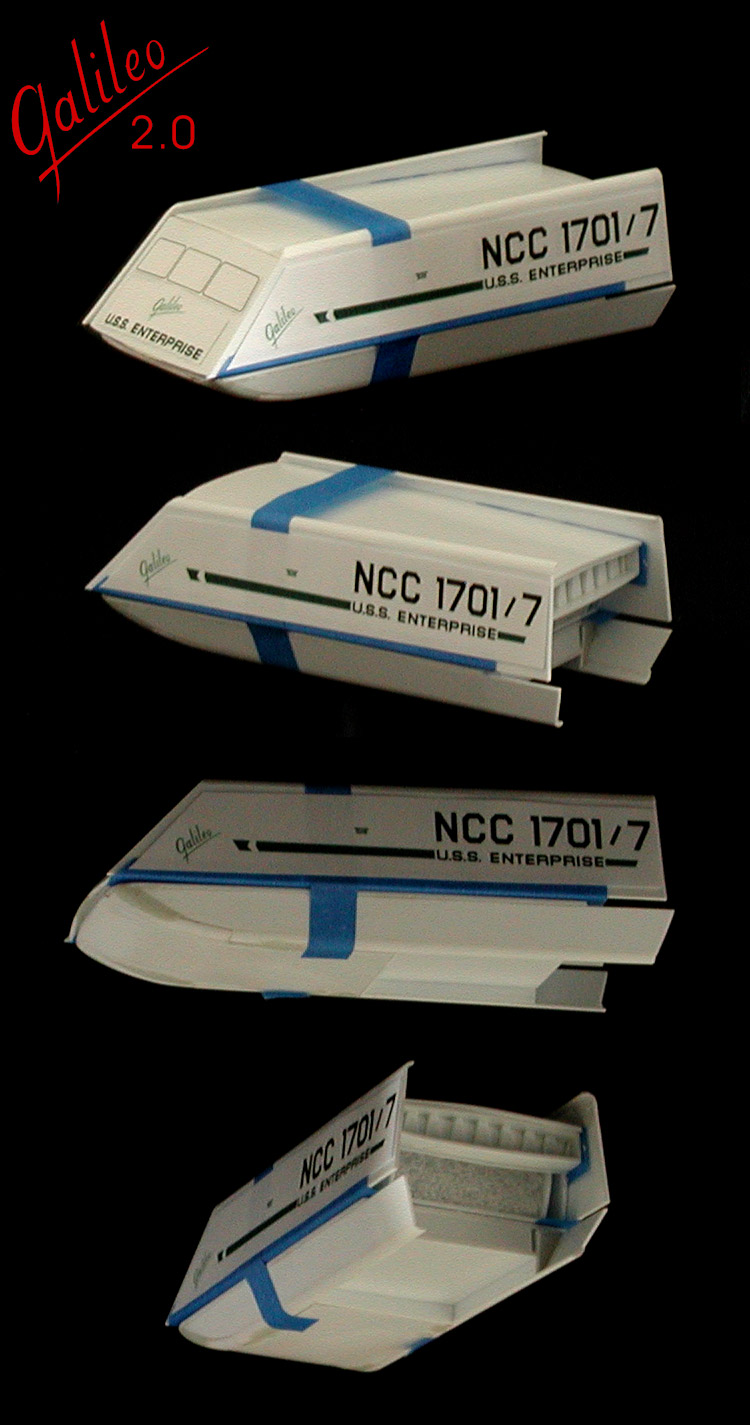 Because the engine turned out nicely and I also wanted to test ideas on the nacelles (which took a number of tries on the earlier half scale model), I decided to continue on with this build as a build. 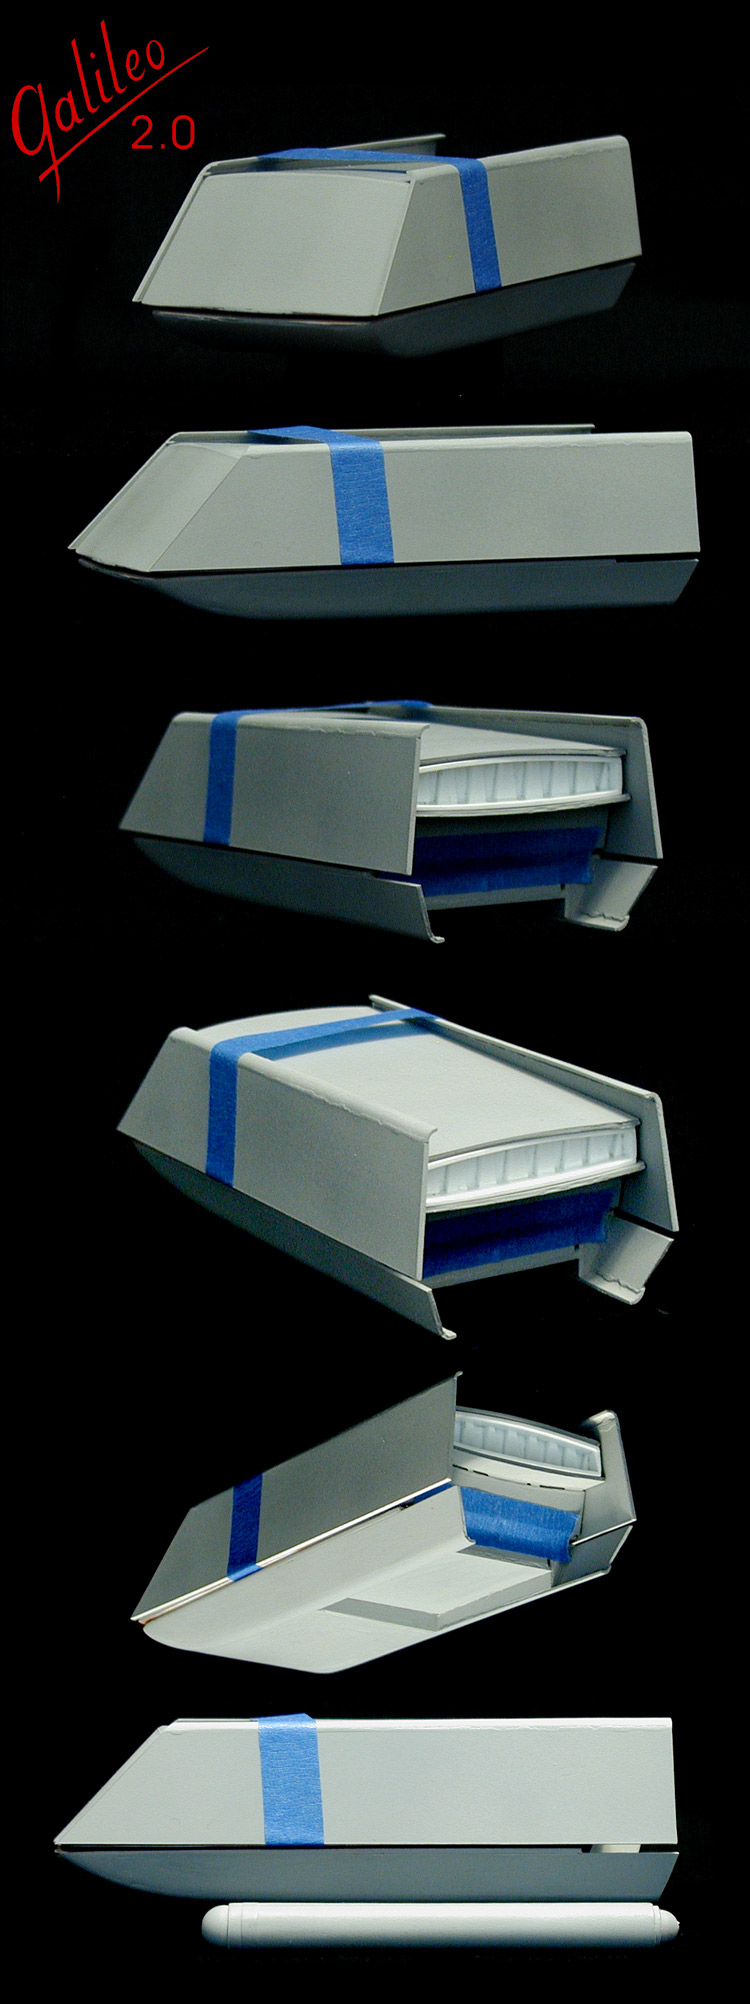 Rather than attempt to work out the detailing below the engine, I decided that that aspect could be put off until after the main parts were cast. I used a paper stand-in while working with the masters. 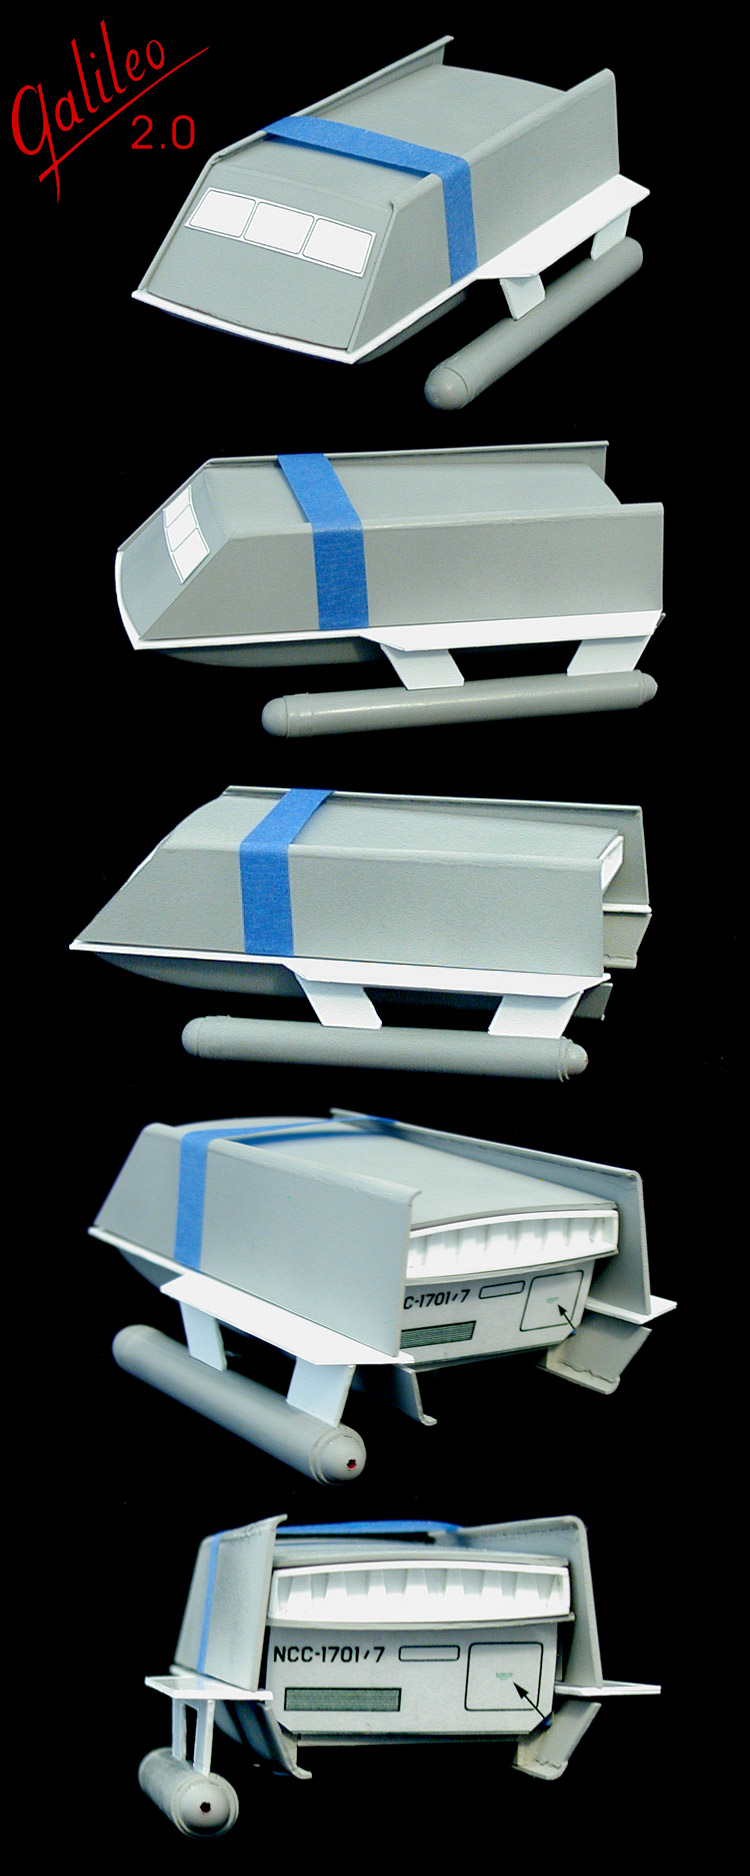 By the end I had seen that I fixed the original issues I had and liked my ideas for making nacelles (which should translate well at double the size), so I figured I was ready to make molds. 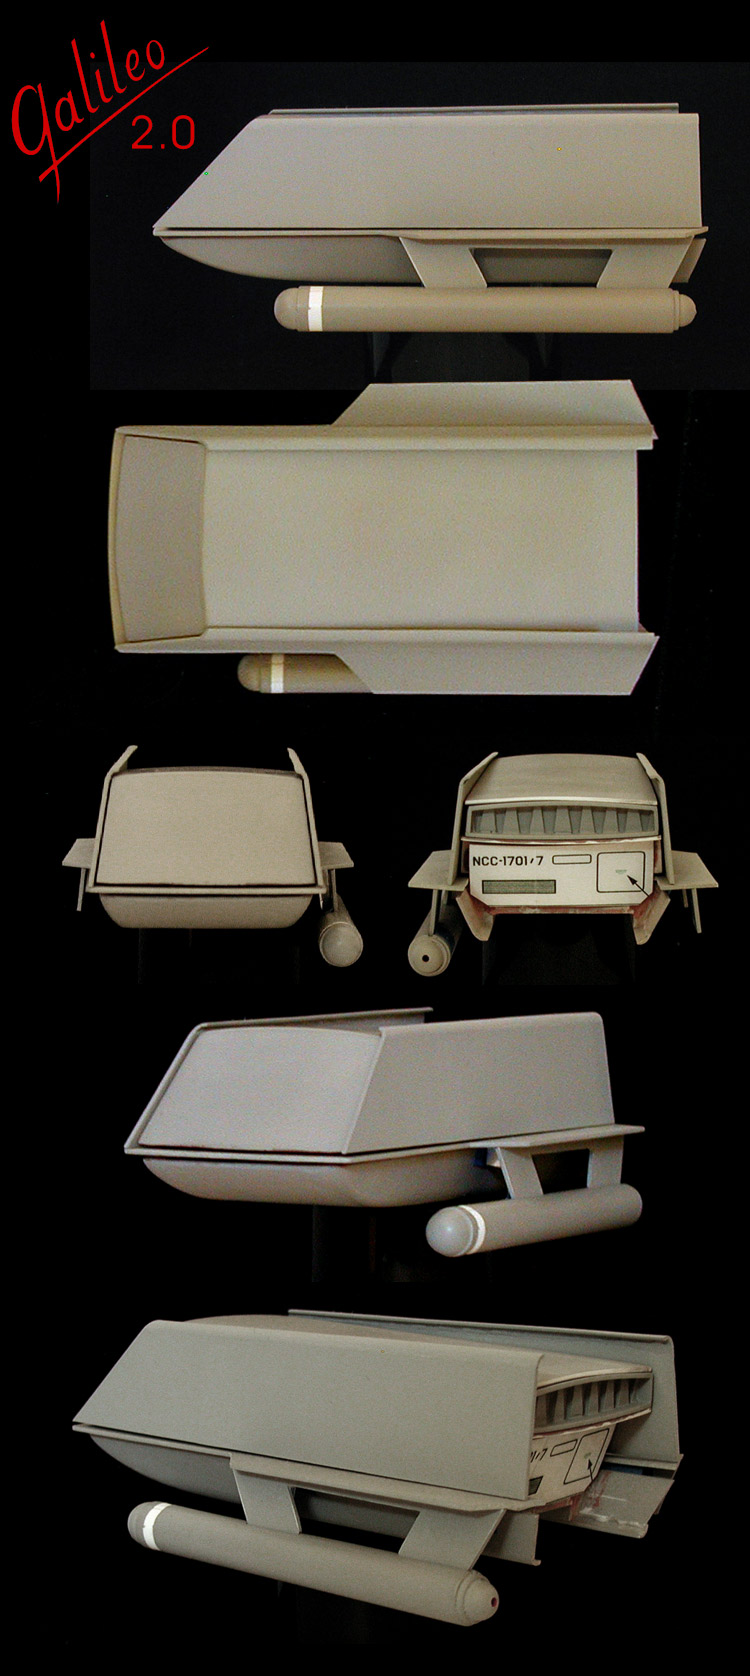 I limited the molds to the upper hull core, lower hull, engine grill and nacelle. The other parts could be cut from styrene using my templates. 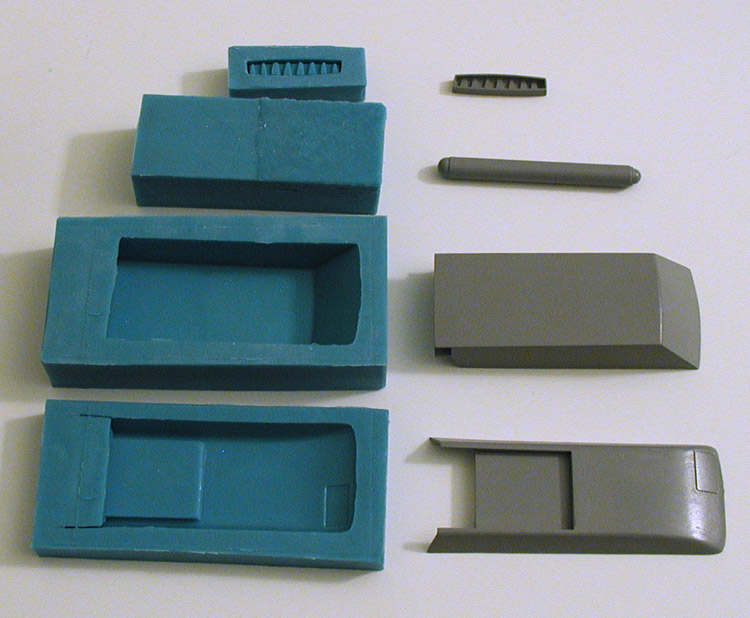 I wasn't sure of the quality of the parts, so even though I set out to make two, I ended out with the start of a third model. 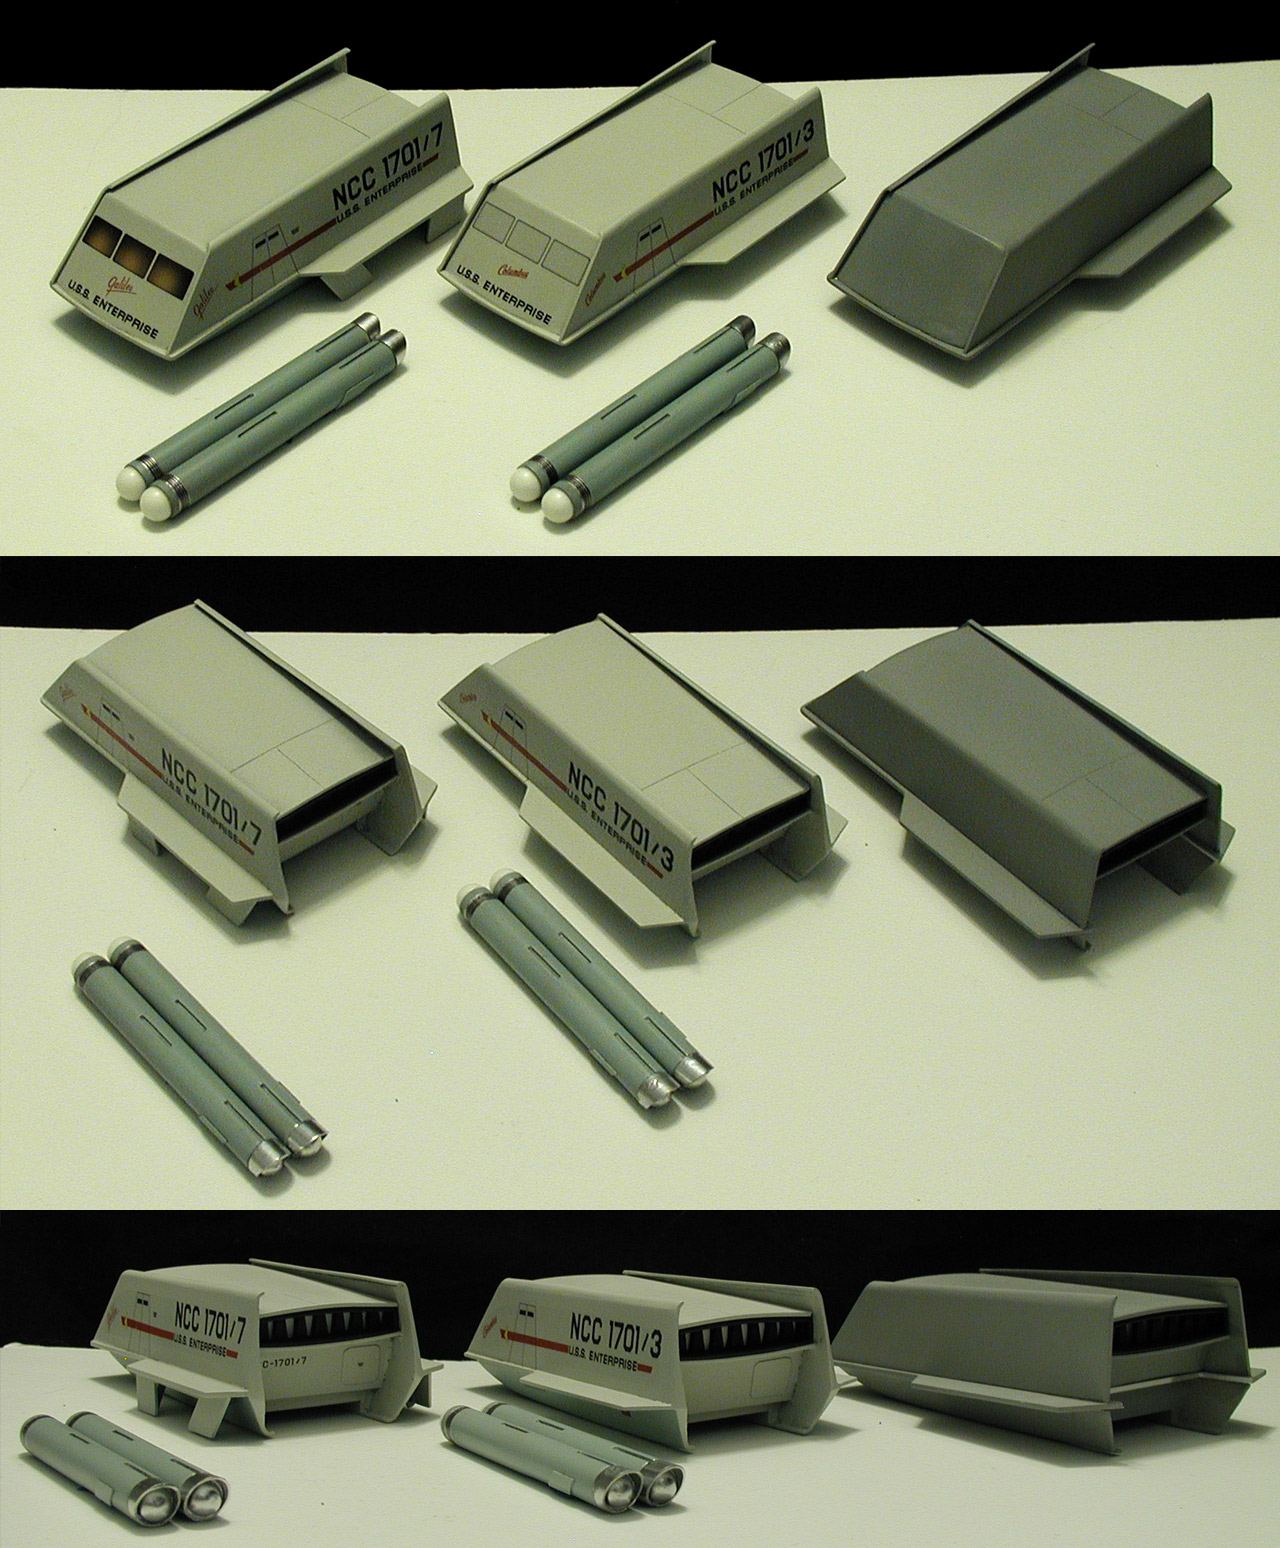 Click to enlarge As I pointed out earlier, part of the reason for pushing this beyond just a throw away test piece was the additional chance to test out additional information I had on the original model's decal graphics. My refined studies in the following image shows my reconstruction of the original decals (including the lacquer covering, which appears off-yellow) and my arrangements of the graphics (without the lacquer). 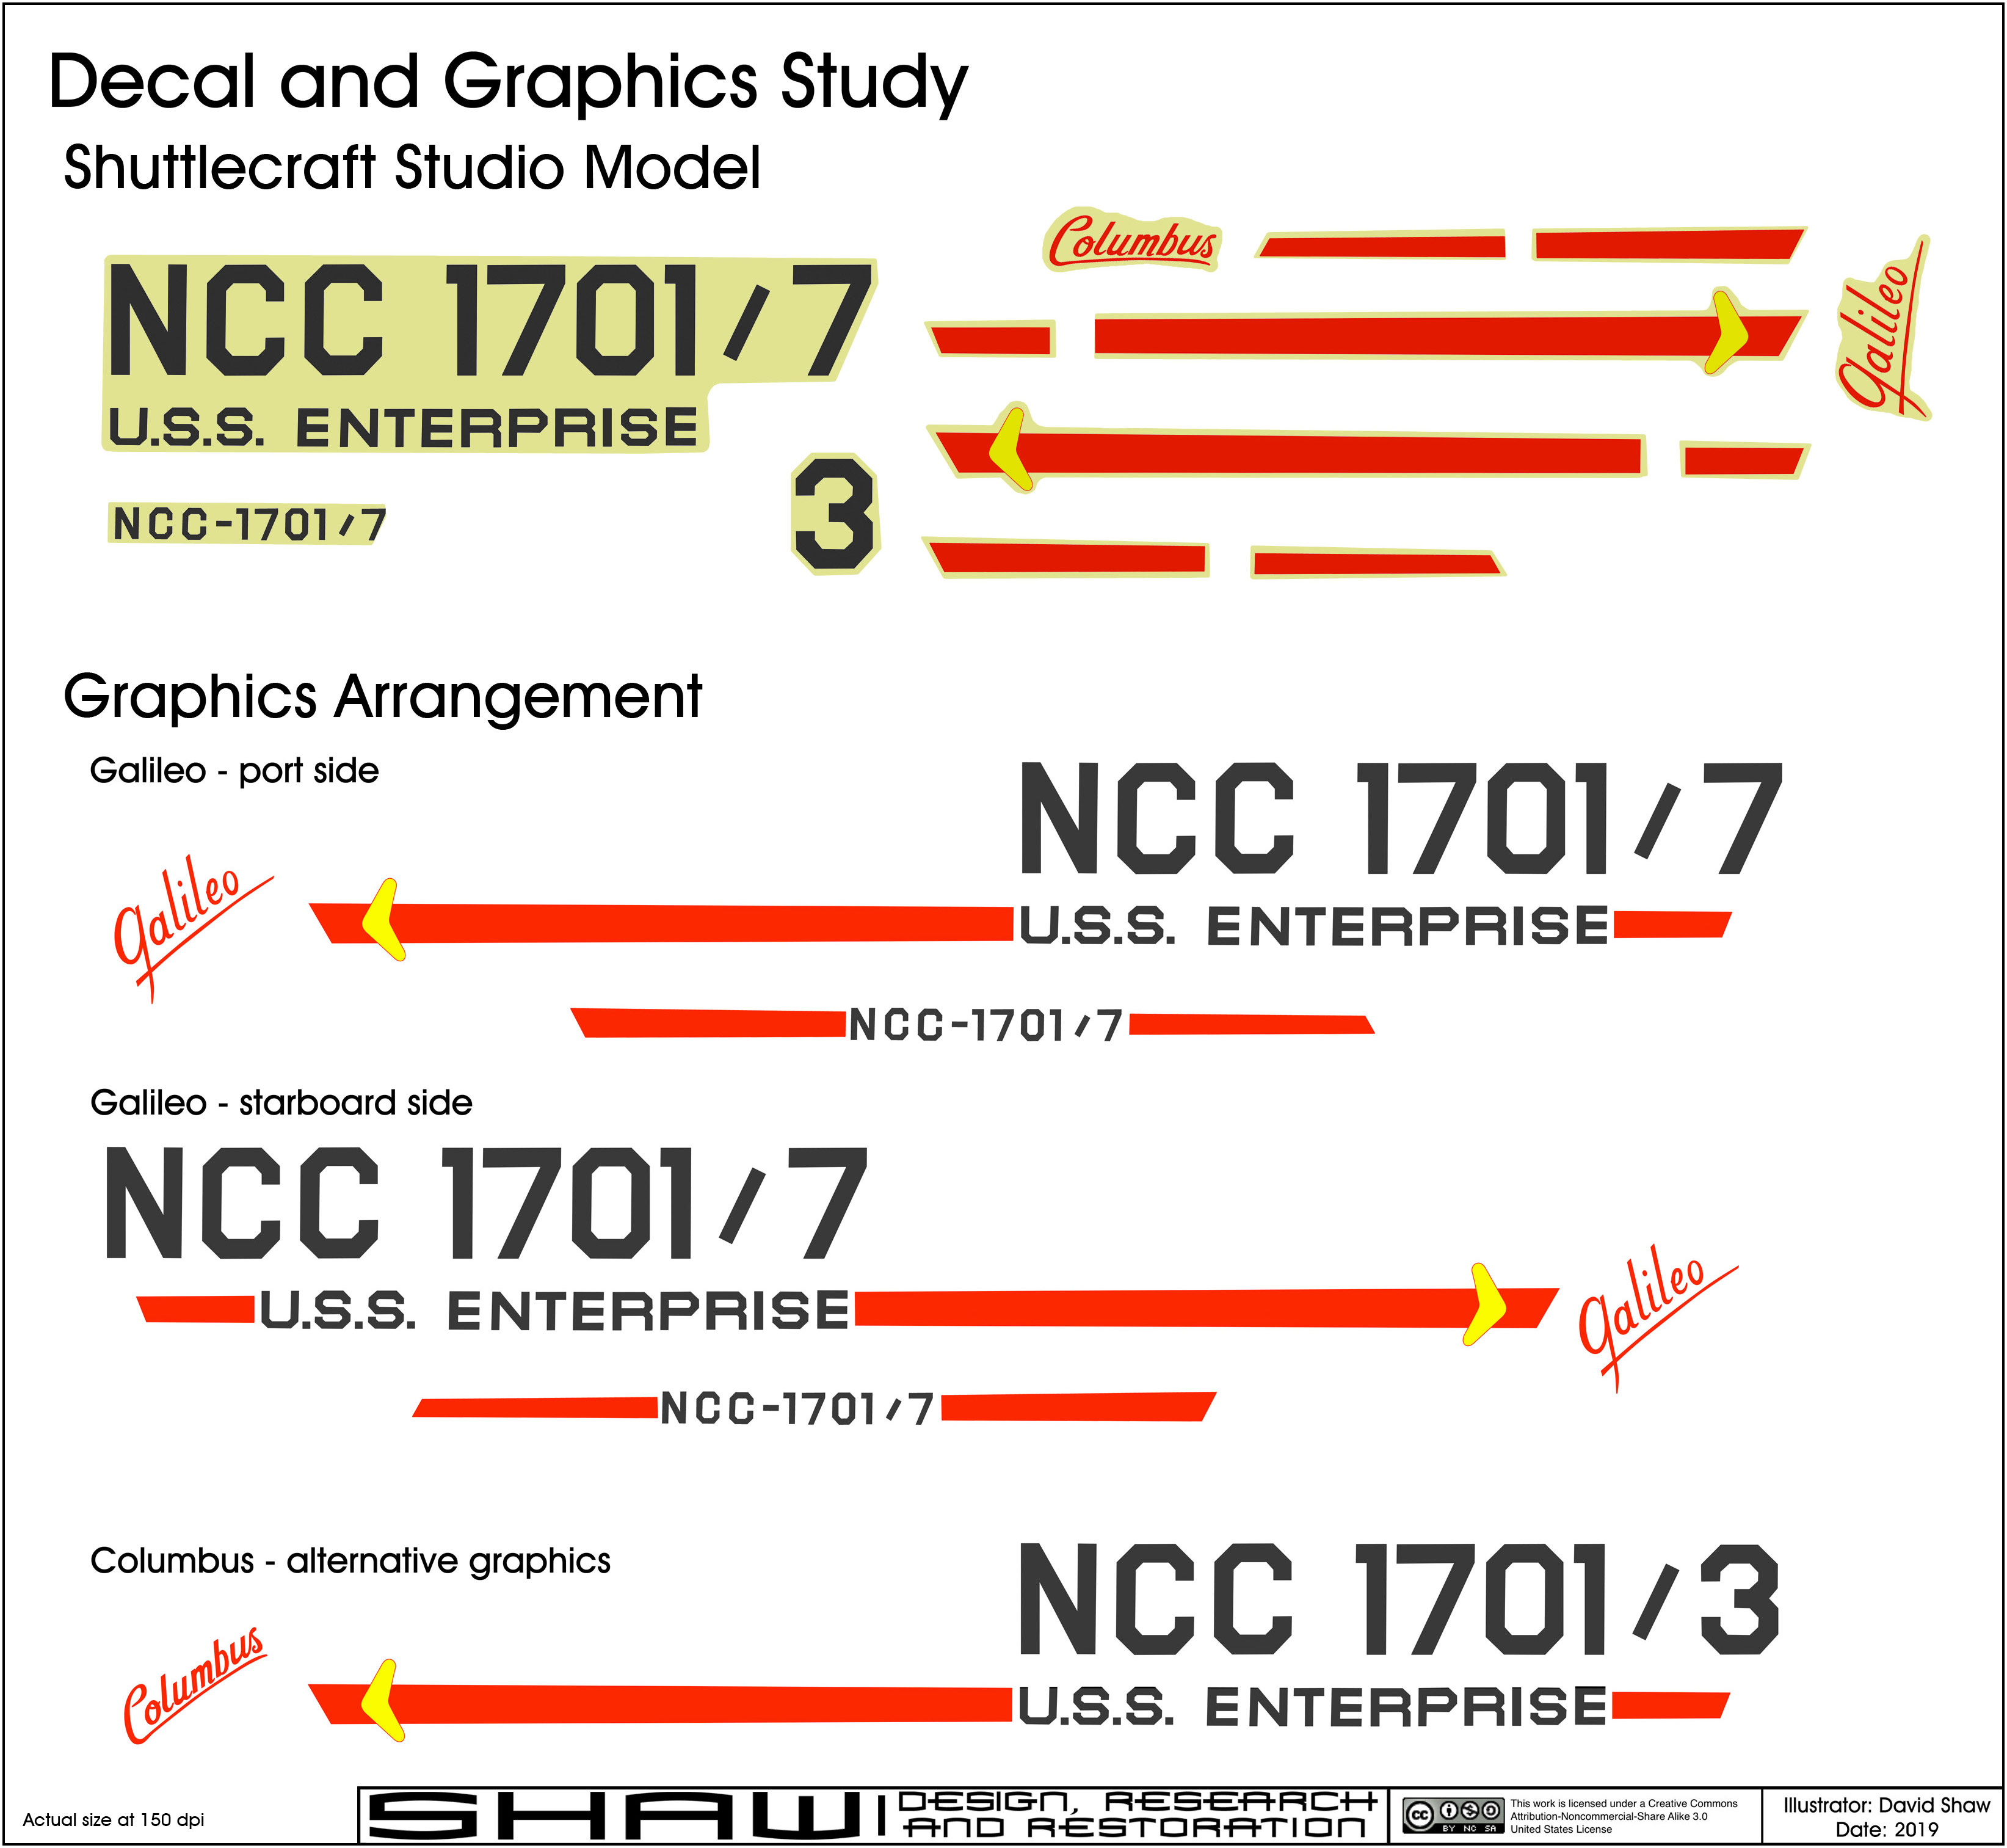 Click to enlarge Using that as a starting point, I scaled them to match the these models and arranged them on a decal sheet. I didn't want to worry about making mistakes placing them, so I packed in as many copies as possible. 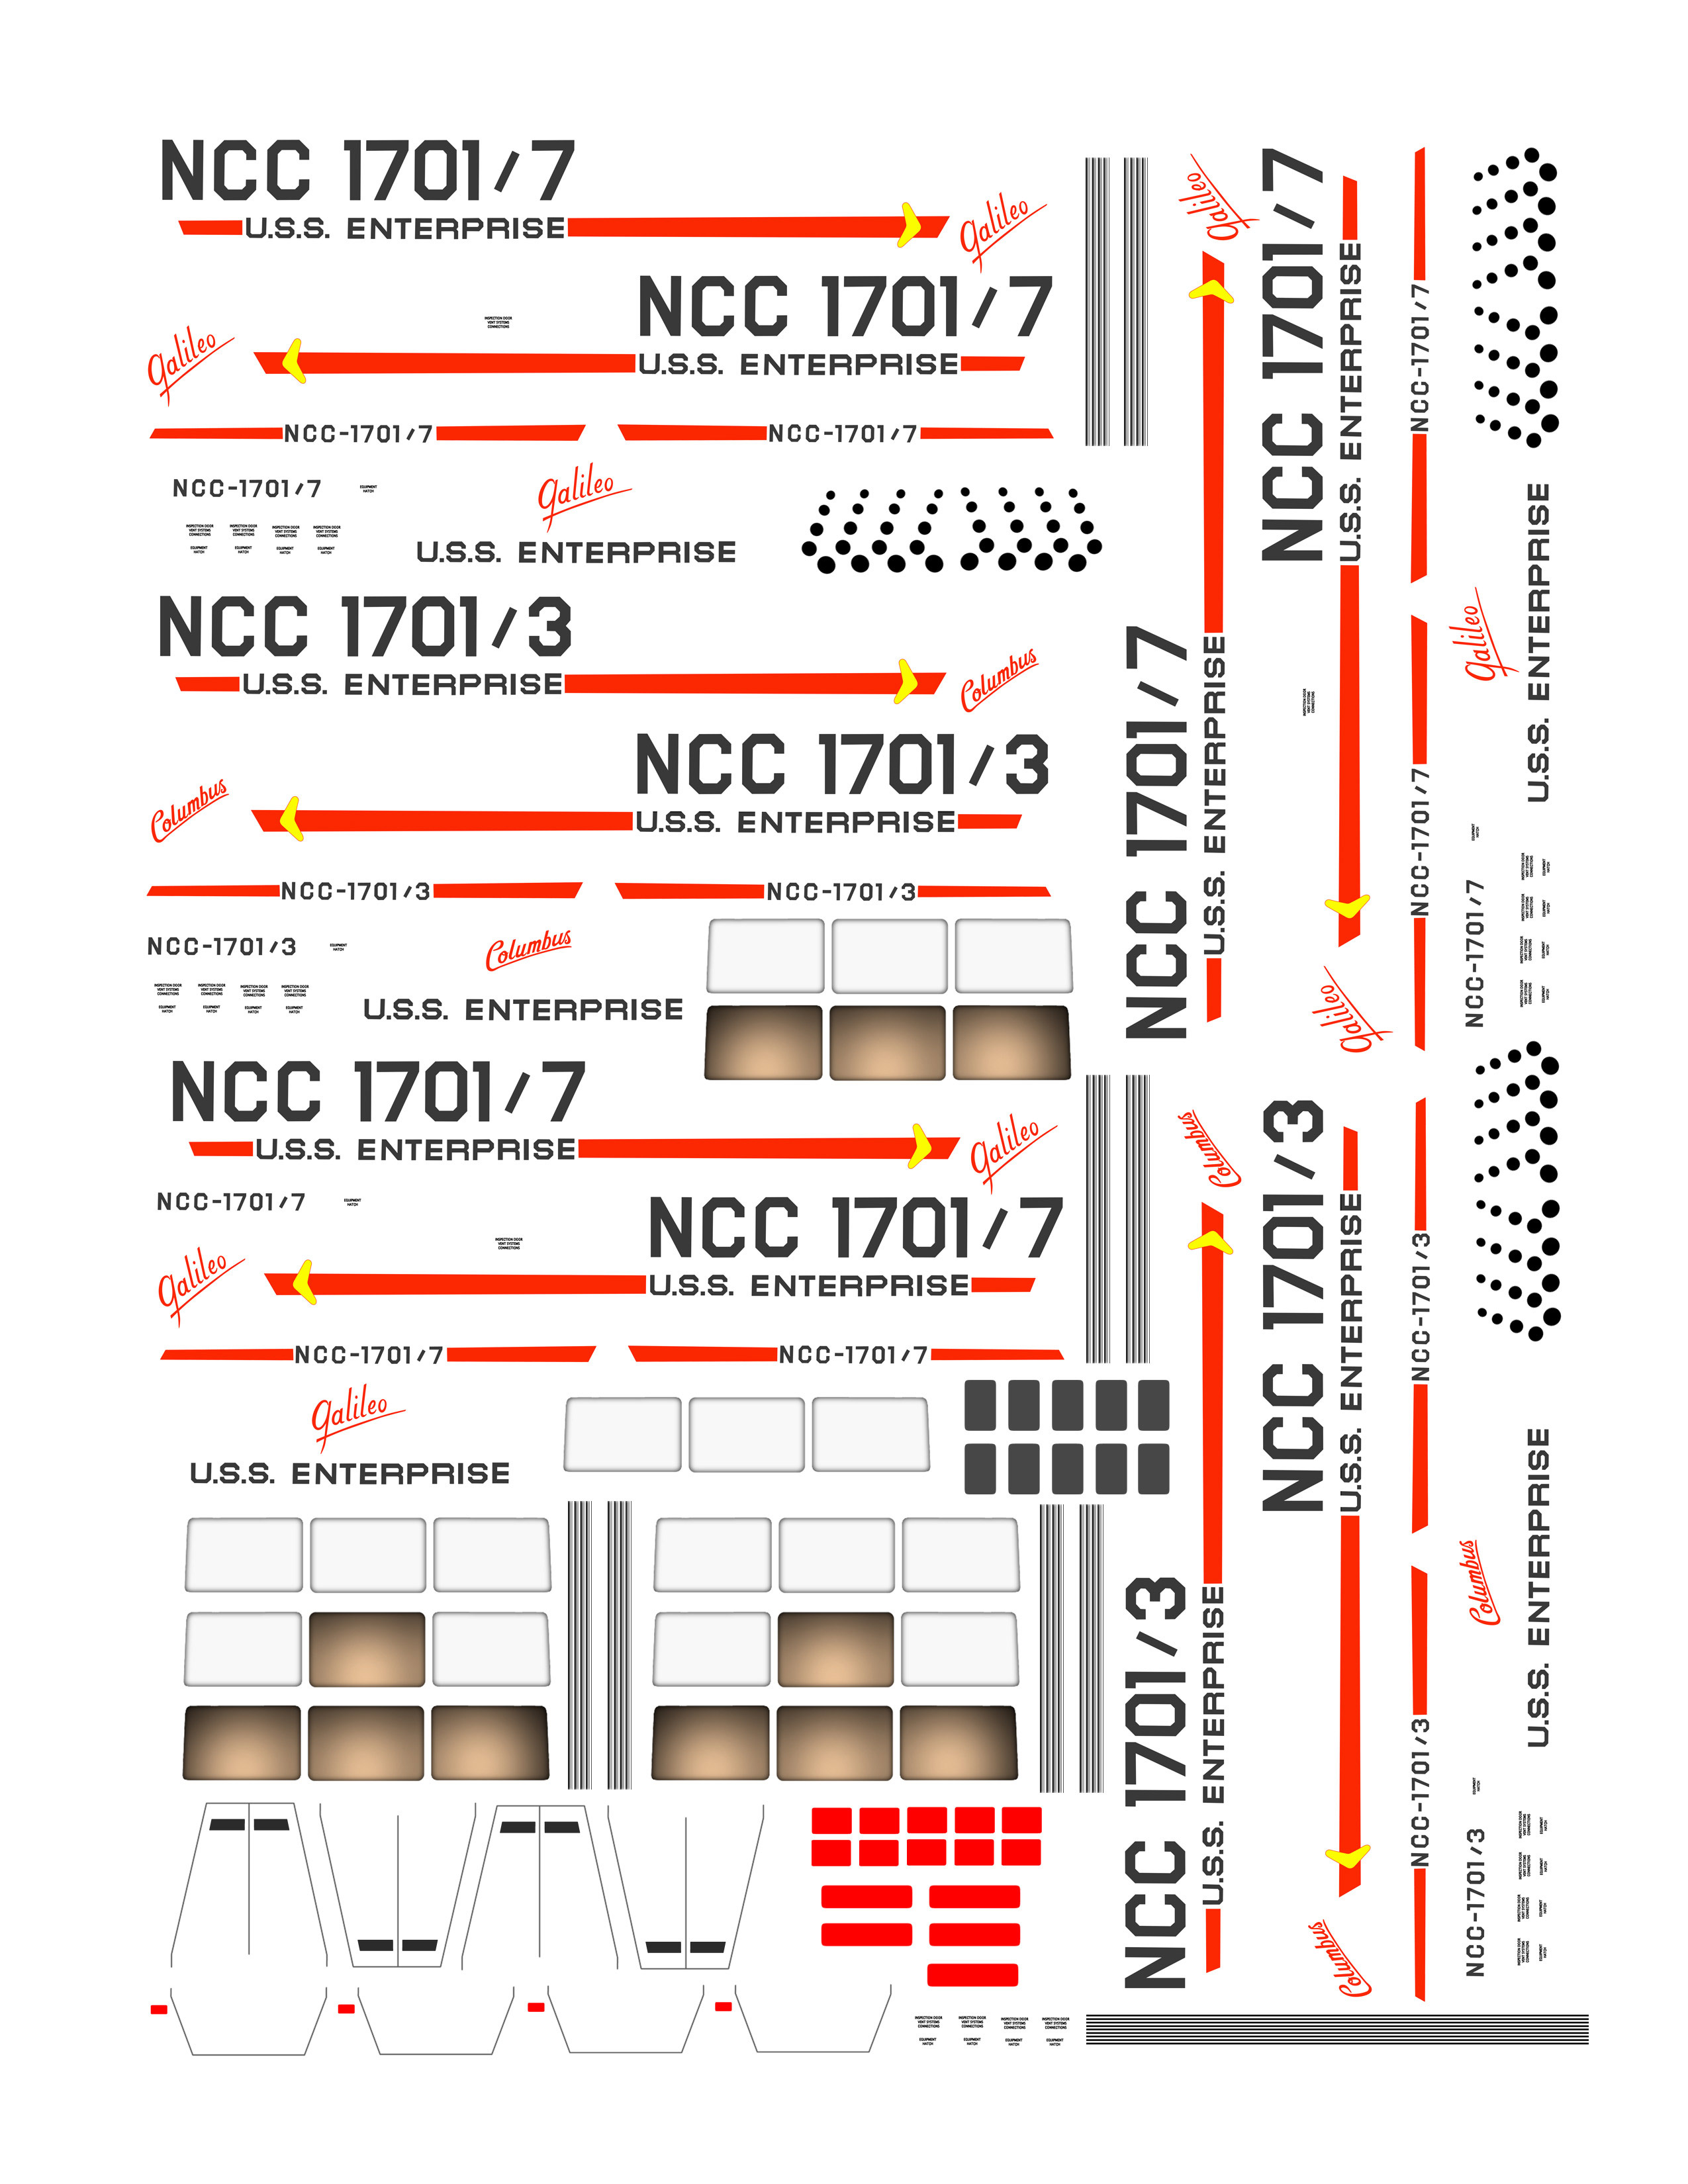 Click to enlarge You can find a gallery of the first two models here, and I recently got around to finishing the third (shown below). 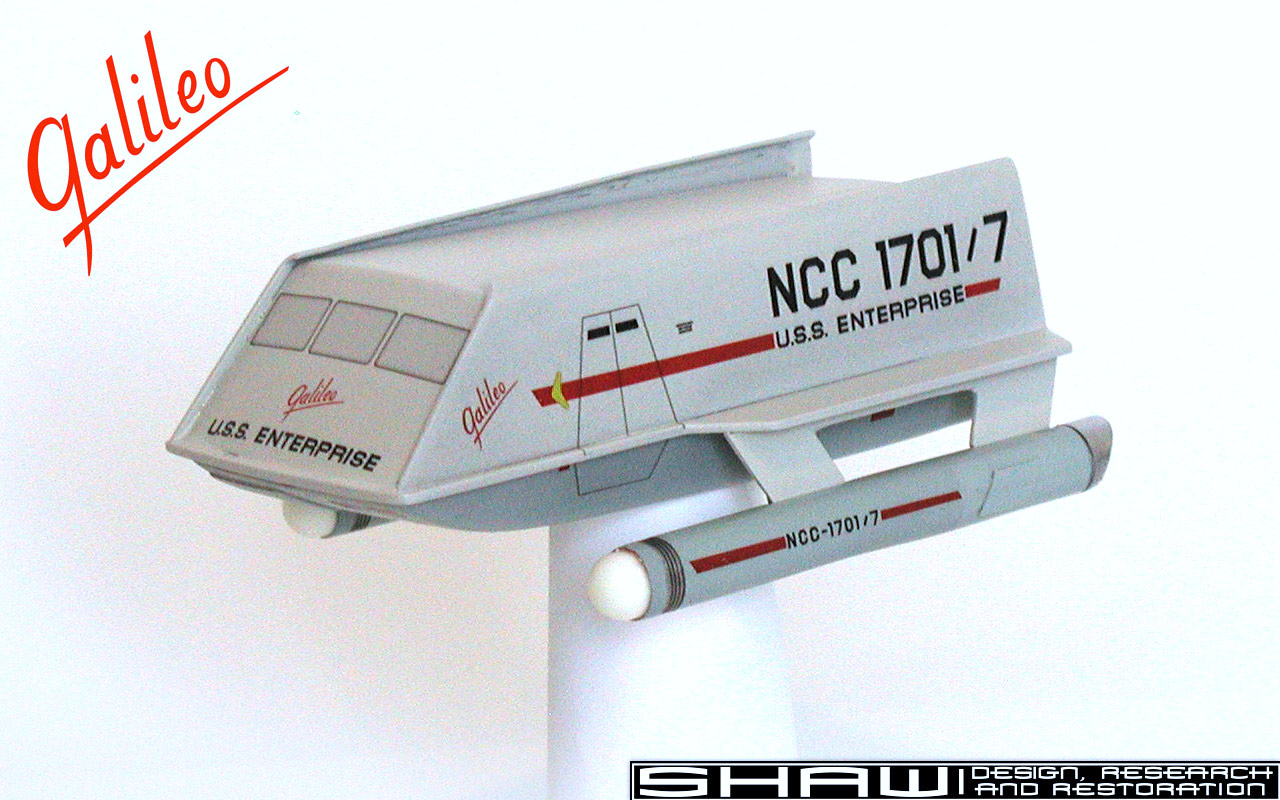 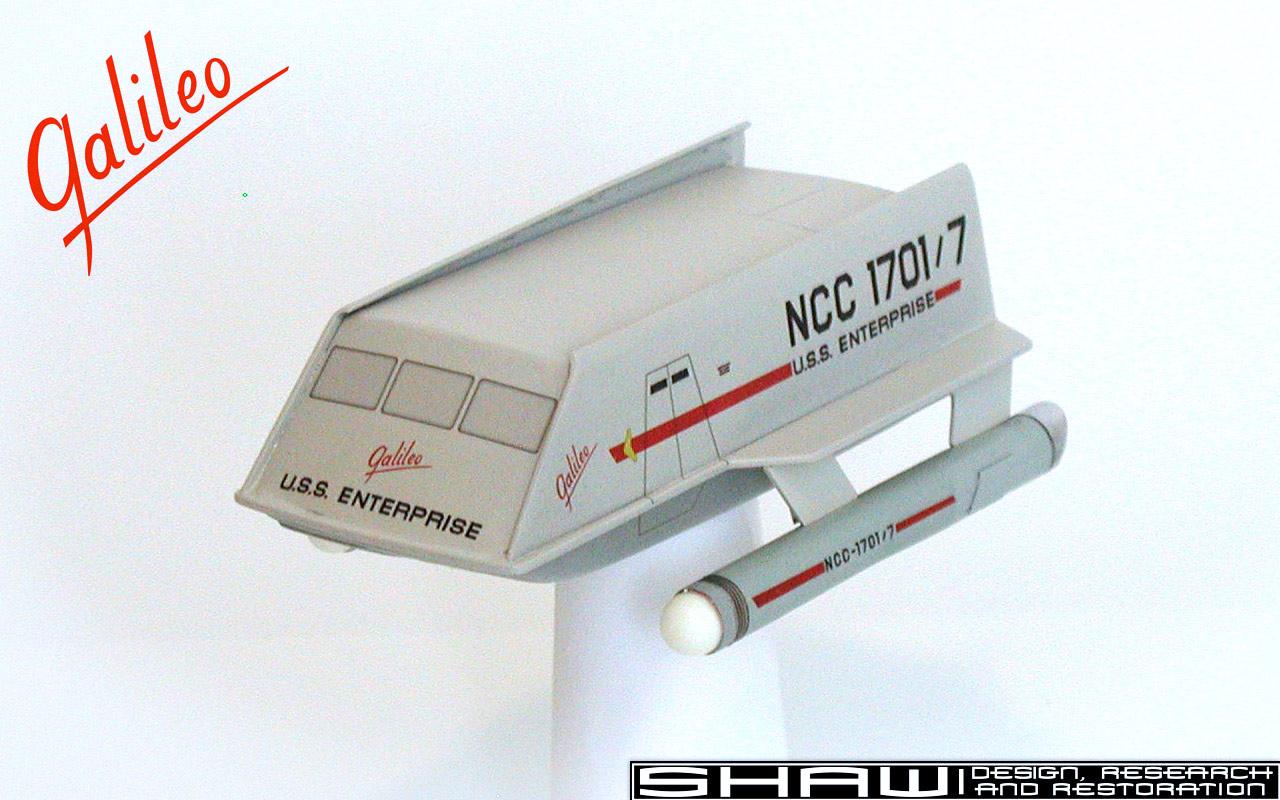 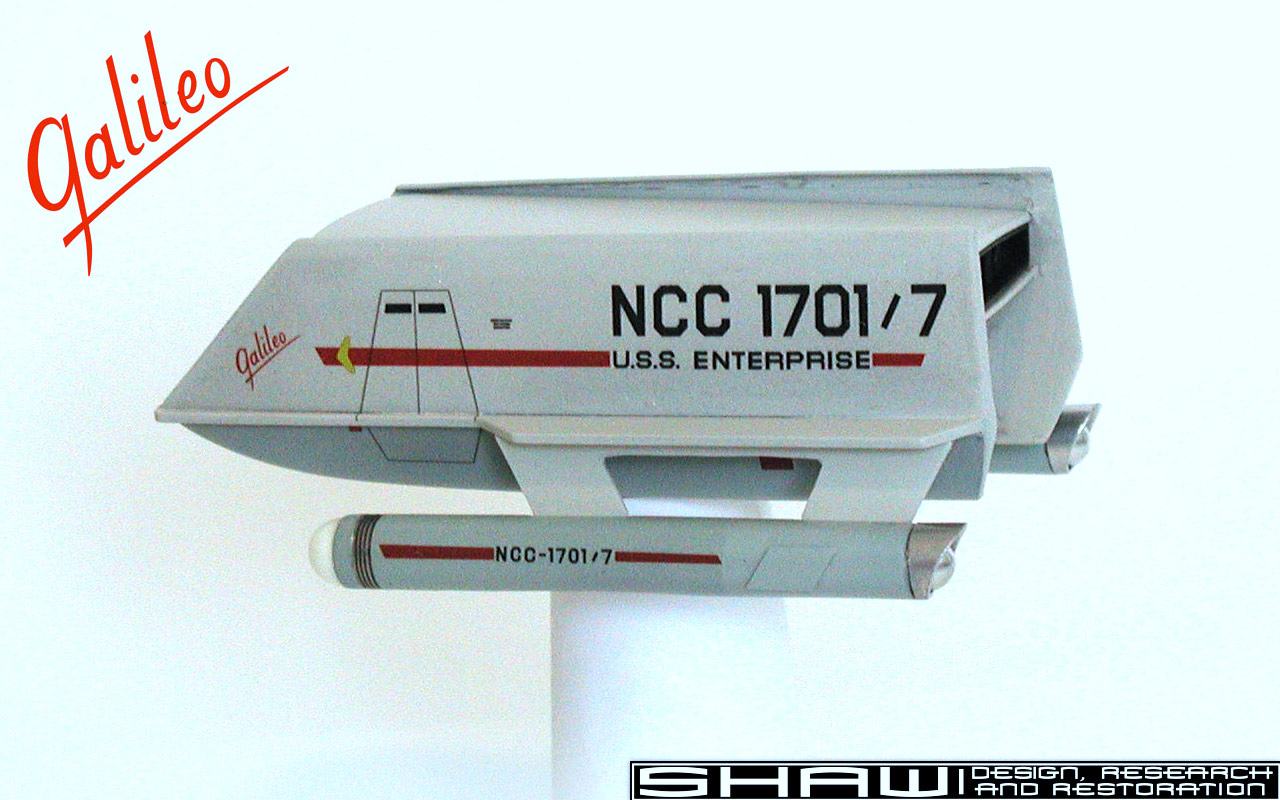 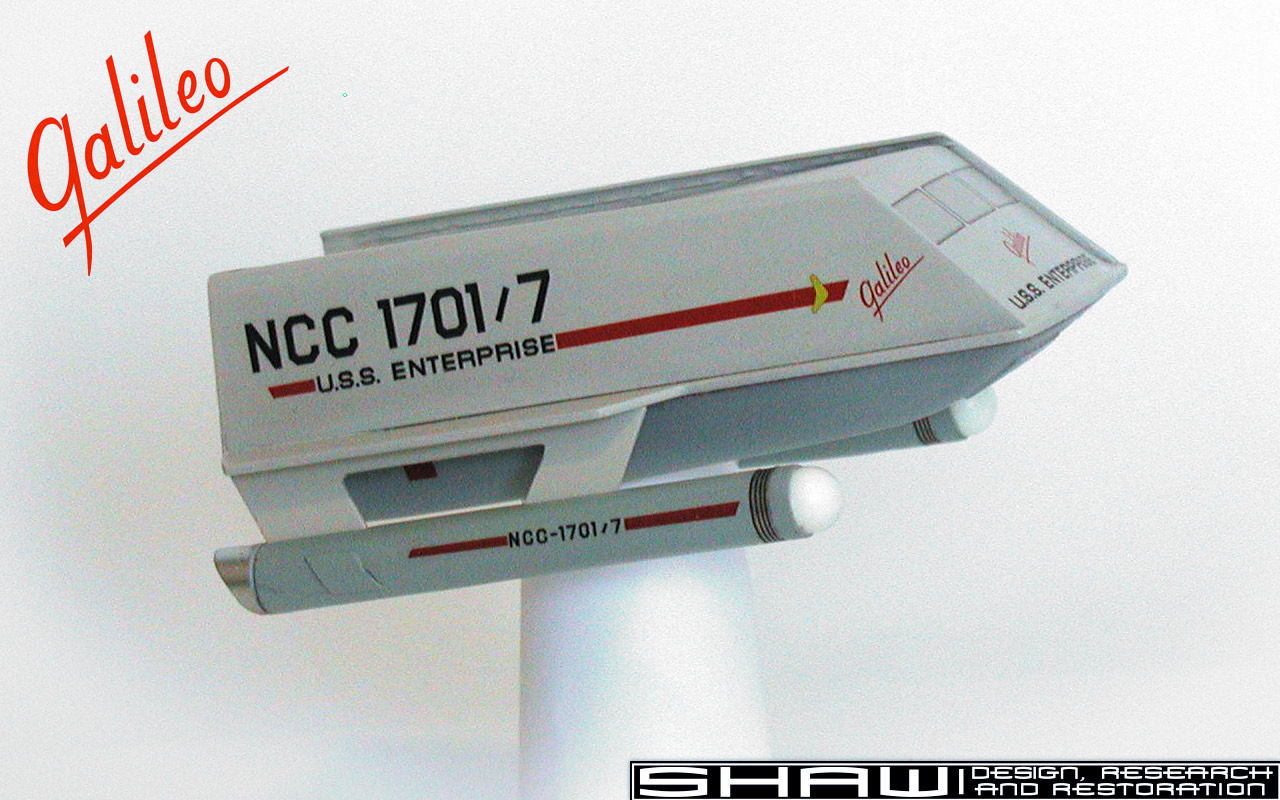 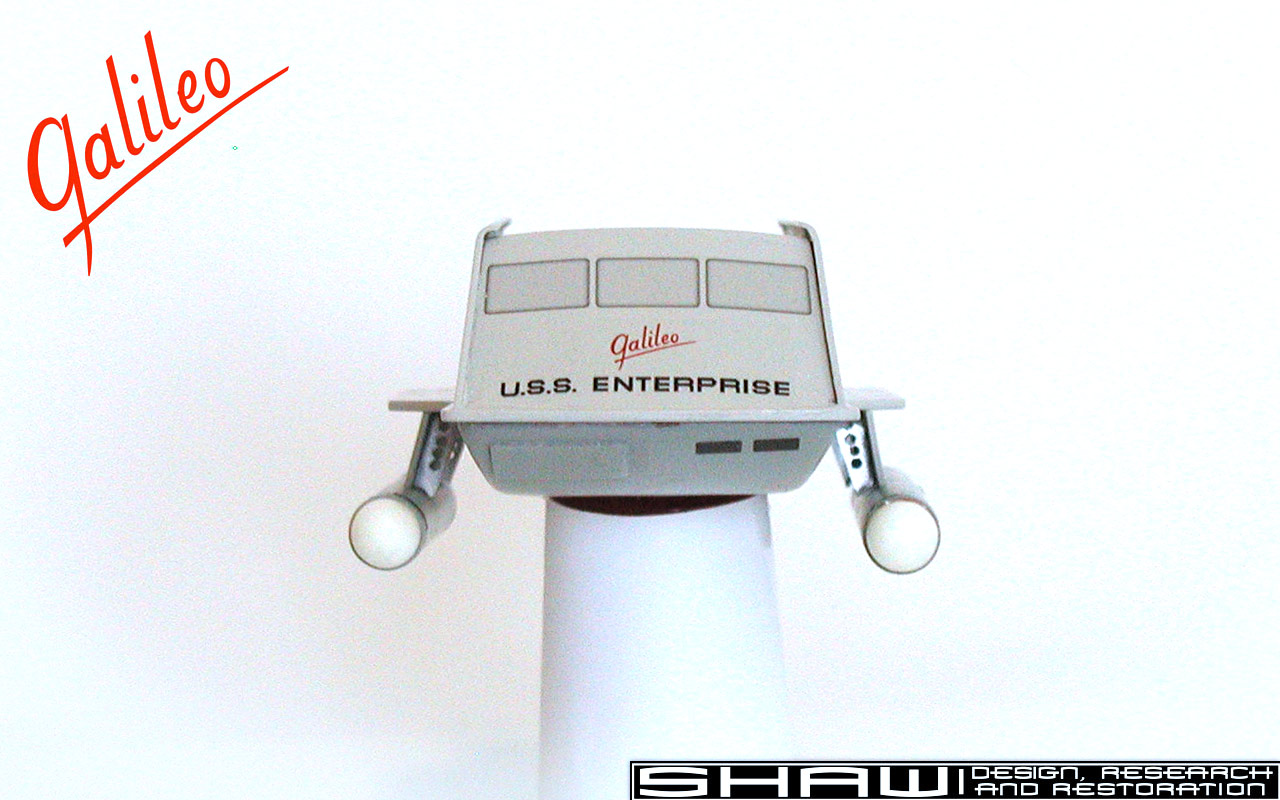 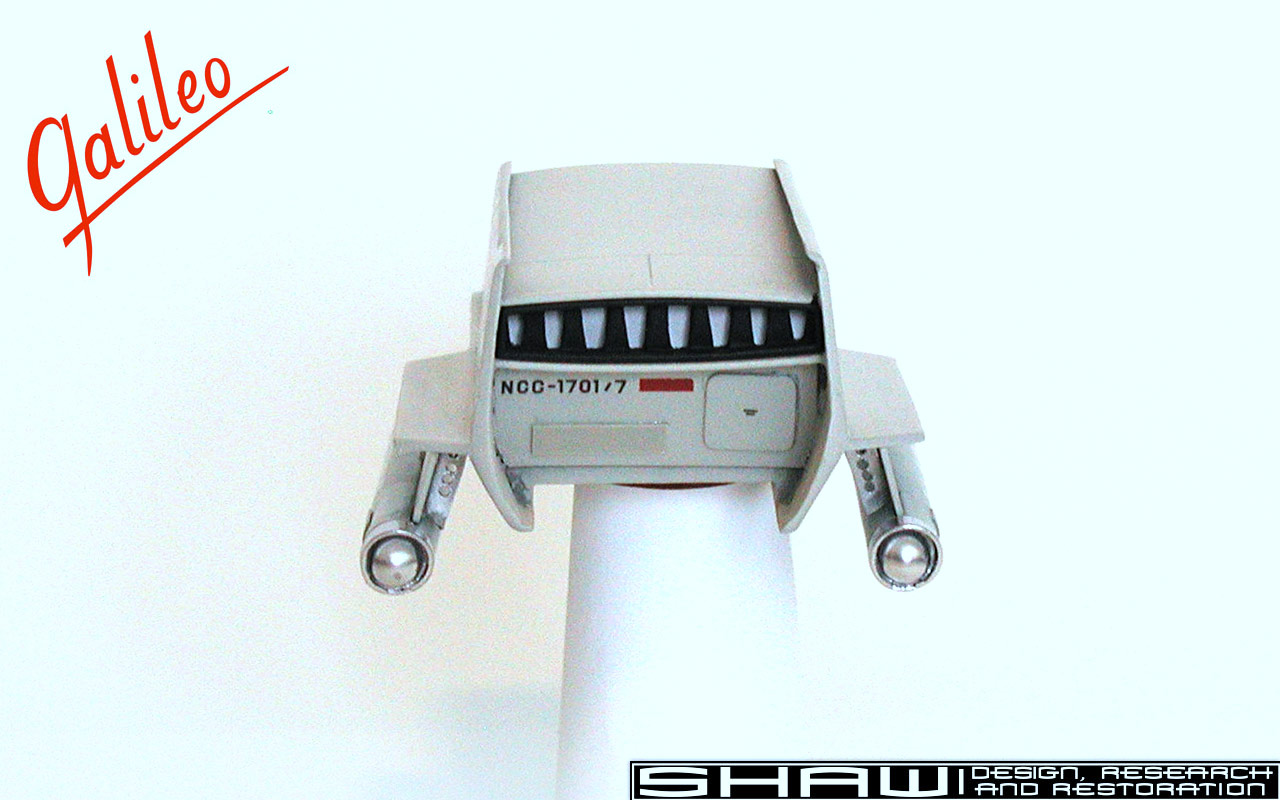 |
