|
|
|
|

|
Recently I wanted to do a little something during my convalescence. It needed to be small and I needed to use only what I had on hand. I started playing with the idea of doing a Type I Phaser and began looking at reference images to get a feel for what I'd be sculpting. In addition to plans, measurements and photos of surviving props, I collected together a bunch of screen caps of the props while in use. 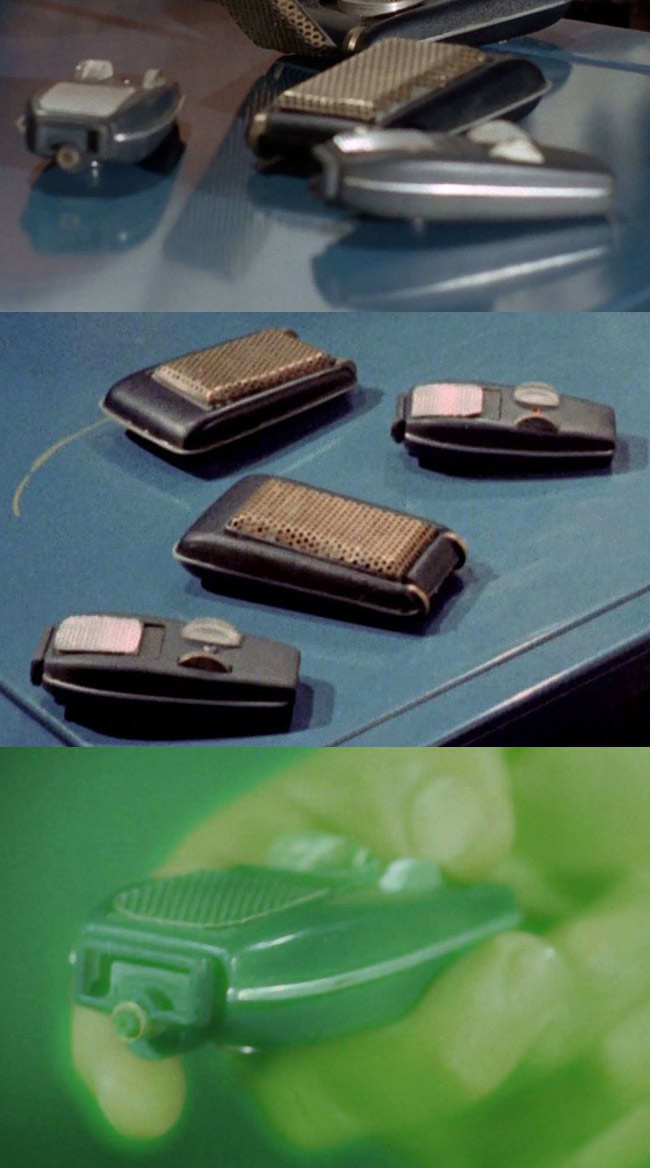 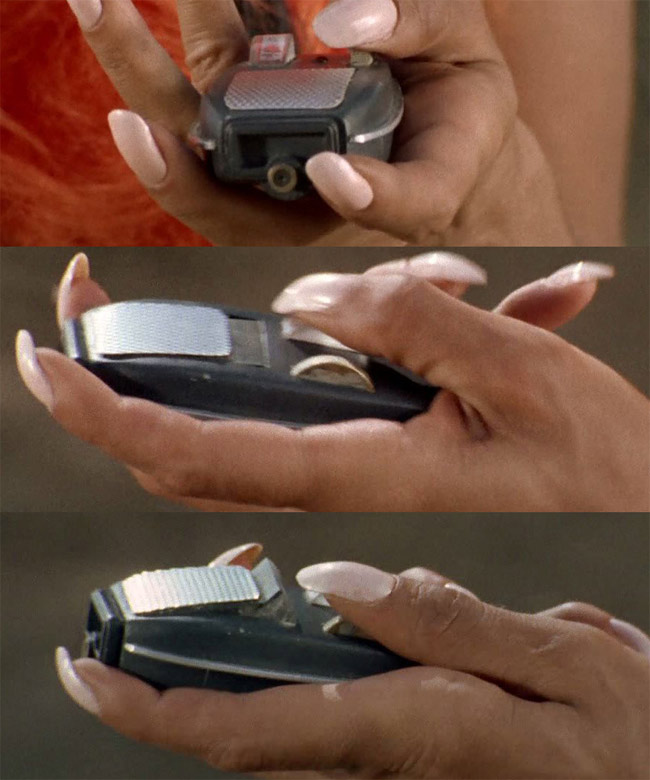 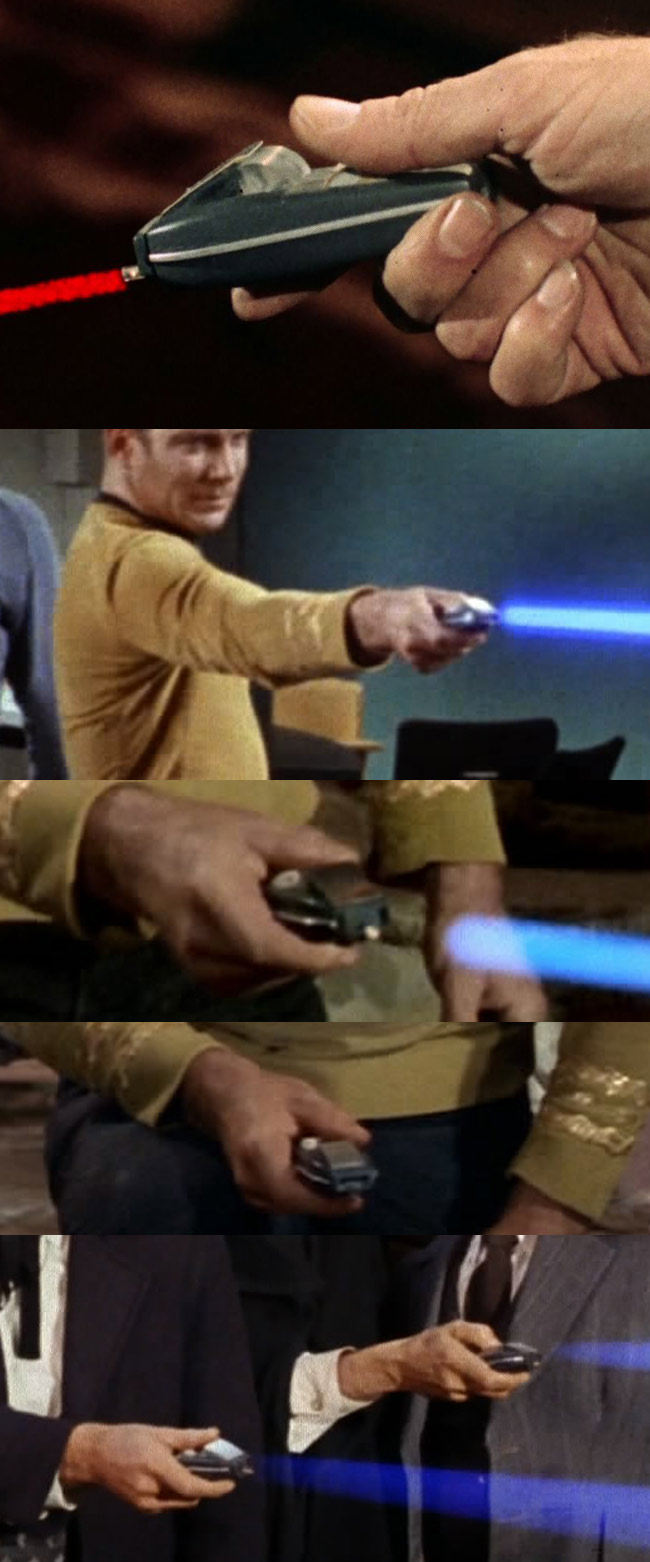 With the info at hand I cut out foam core sections and started filling/shaping, until I started to get what I wanted. I then started working on creating a surface that match the finish I was going for. Once I was pretty happy I masked off some of the key features and hit it with a couple coats of primer to see how it looked. I spotted some defects, touched them up with glazing putty, and had another round of priming. At the same time I put together some of the detail pieces, and when everything looked good, I made molds of them. 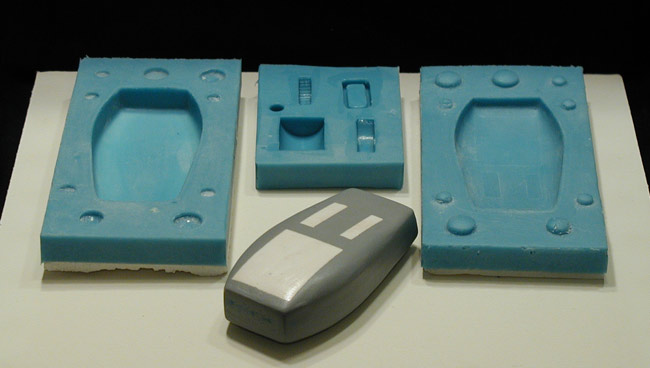 Just in case, I cast enough parts to make two phasers. I cut the needed openings and added the needed additional details. I also started in on the parts that would be directly made for each phaser (rather than cast). 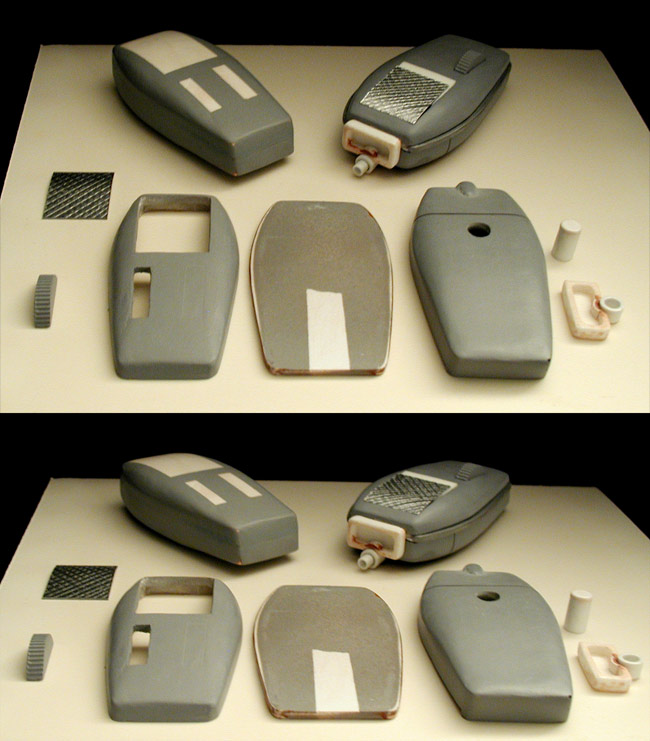 Everything worked out pretty good. I was forced to use the remainder of some clear resin I had which had yellowed, but like I stated earlier, I had to use what I had on hand. 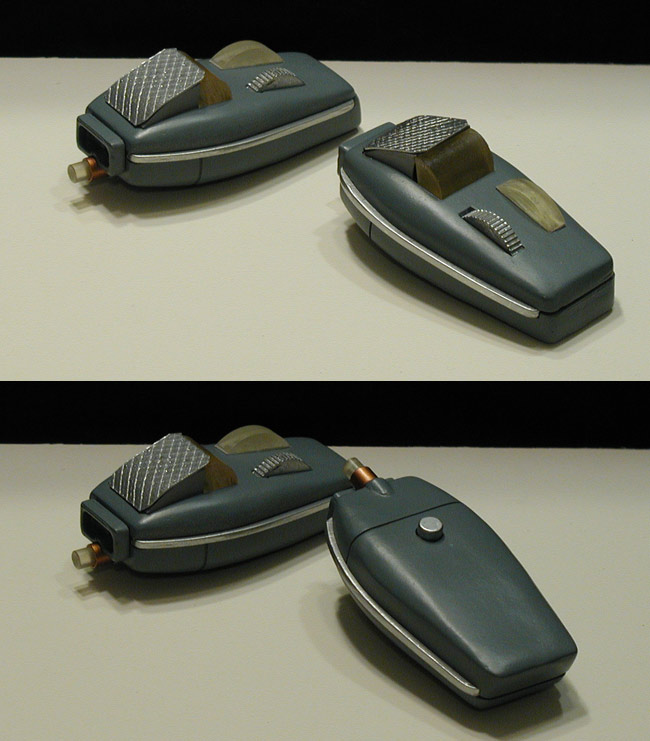 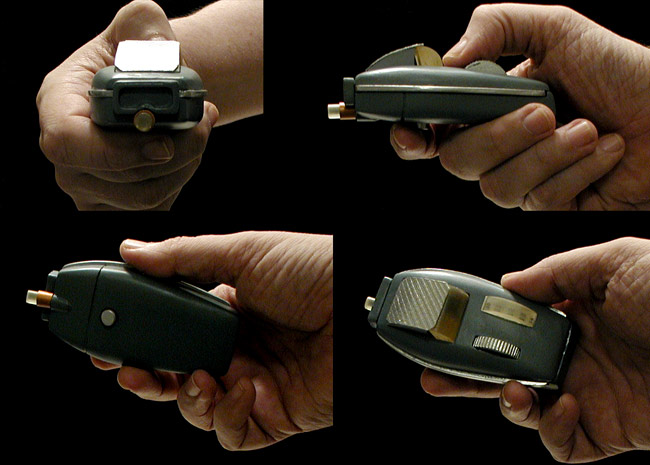 |
